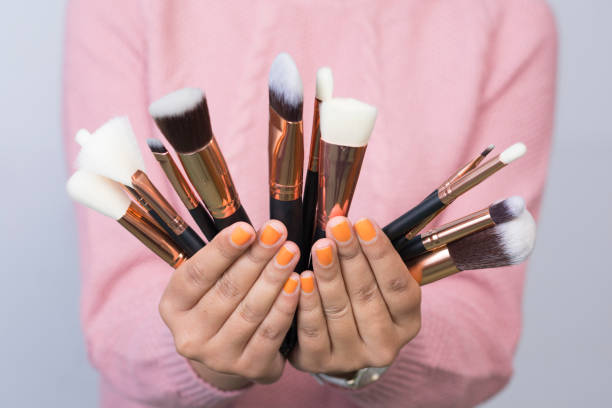
We’ve been painting, contouring, and highlighting our faces with makeup brushes and sponges for a long time. However, how frequently have you considered cleaning those brushes? Since makeup is applied directly to the face with brushes and tools, once a month is not sufficient. If not stored properly and cleaned regularly, these facial tools become a deadly group of bacteria that can cause breakouts, rashes, and other skin issues. The best way to keep your skin safe from infections is to make it, use it, and throw it away after its expiration date. Makeup brushes can be easily cleaned at home using the methods below.
1. Makeup brushes have soft bristles:
Baby shampoo or regular hair shampoo can be added to warm water to make a diluted makeup brush cleanser. Makeup brushes have soft bristles that easily break, so wash them carefully. At least once a week, clean your highlighter and concealer brushes.
2. Use dish detergent for synthetic brushes:
Synthetic brushes can be washed with dish soap and detergent without becoming damaged because they are strong and long-lasting. By mixing warm water with soap, you can clean the brush with a cleanser.
3. Put the brush in running water to soak it:
Wash your brushes with a cleanser and then lather them up, depending on their quality. Under running water, hold the brush inverted. Until there are no more bubbles, let the water run. Avoid submerging the brush in water.
4. Dry with a microfiber towel:
Use a microfiber towel or napkin to dry the brushes after they have been cleaned. Do not vigorously rub the brushes against the towel or each other. Keep the cloth covered with the brush until it is completely dry.
5. Use liquid soap for sponges:
Make a cleansing solution out of warm water and liquid soap in a bowl to clean makeup sponges after contouring or highlighting. Dip a makeup sponge into the container and allow it to sit for some time. Hold the sponge under running water and squeeze it several times to get rid of the soapy liquid. Use a clean cloth to dry the sponge after removing all the soap.
6. Brush with water:
The brush can be run under the sink or immersed in warm water in a bowl. To keep the adhesive that holds the brush in place from coming loose, keep the brush’s base—where the bristles meet—out of the water.
7. Use your preferred soap:
Spin the brush around the soap dish with a harsh brush cleaner, such as Jenny Patinkin Wash, rinse, and repeat. Keep doing this until you get a thick foam. Apply a small amount of soap to the wet bristles if you are using a different cleanser.
Massage the bristles gently once the brush has become sudsy. Rinse with your fingers after placing the brush in your palm. Repeat until the brush is clean and no more pigment is visible on the bristles.
8. Form the hair:
Shape the bristles after cleaning the brush because washing them can make them look bad. This requires uniformly arranging the bristles. The brush will dry as intended and be simpler to use because of this.
9. Allow the brush to dry:
To remove any excess moisture, lightly press the ends of the towel with a clean towel. Finally, place the brush on the counter and remove the bristles from the ends. All sides of the brush can be dried in the air this way. Allow time for the brushes to completely dry between uses because some may take longer to dry than others. Additionally, we suggest washing your brushes at night.
Keep your brushes dry and cool when you store them. According to Patinkin, “if you keep your tools in a warm, humid room, they can grow mold. “
We hope that our suggestions for making it easy to clean makeup brushes at home have been of use to you. To avoid irritation and breakouts, it is recommended to keep your makeup brushes, sponges, and other tools clean and dry.
Although it can be a bit messy, regularly cleaning your makeup brushes can help prevent the spread of facial bacteria that can cause acne and irritation. Enhances profitability and extends the brush’s useful life.